Here's how to add background images to your content rows to create even more stunning emails!
A few examples
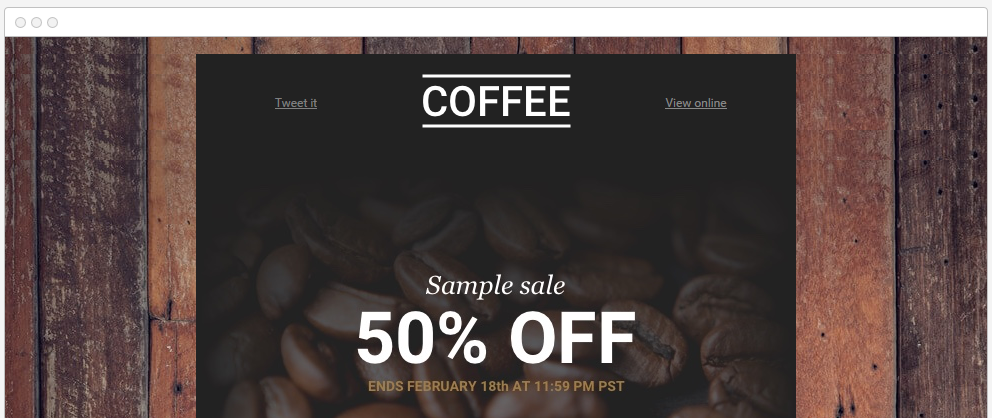
You can repeat a pattern, like the wood boards shown in the screenshot below (taken from on one of the templates available in BEE Pro):
Or you can use a single background image that covers the whole width of the message (e.g. in the heading of the email). This too is easy to do with the new Row Background Image feature in the BEE editor.
Modifying the email message from above and increasing the size of the coffee beans image, the same message could now adopt a different design and look like this:

Where to find it?
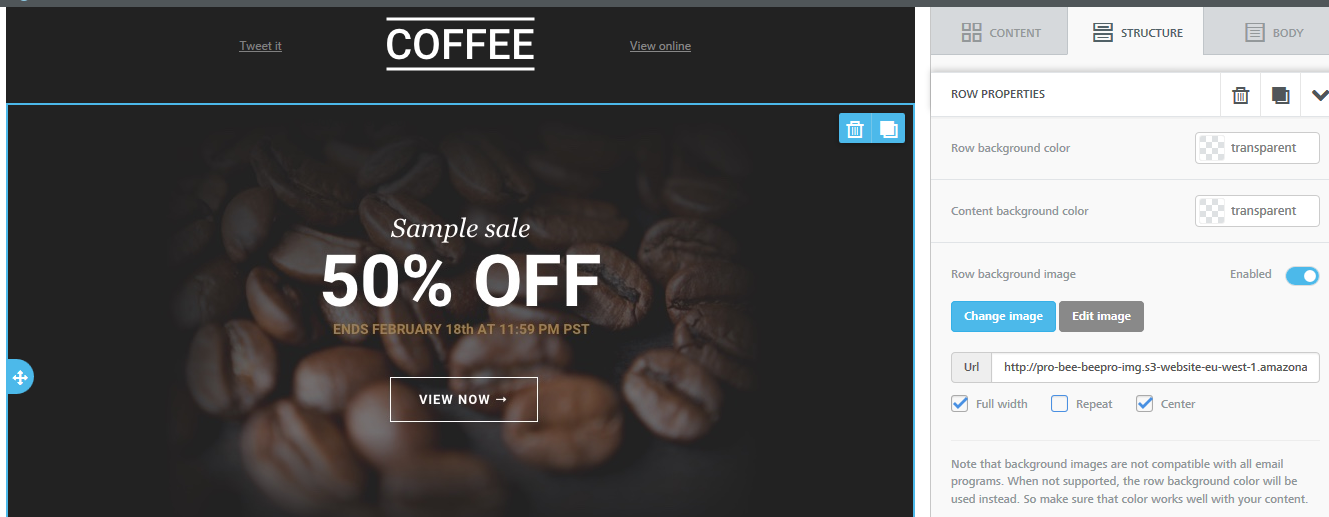
When you select a row in the design pane, you'll see that the Row Properties panel now includes a new Row background image section:
Let's look at the settings included in this new section.
Row background image settings explained
Selecting the image
Once you click to enable this feature, you can upload the image that will be used as background via the file manager by using the Change image button. Alternatively, you can copy and paste the image URL into the URL box if you wish to use an image hosted elsewhere.
Full width, Repeat, and Center
These three settings - Full width, Repeat, and Center - are important for aligning and finding the best fit for your background image or pattern within your message. Let's see how they can be used.
Full width
When selected, the image is used as a background for the entire width of the row. For example, here is a light gray pattern repeated across an entire row (click on the image to see a larger version where you can see the background pattern).
When not selected, the background image is applied only to the Content area. The width of the Content area is set in the Body tab of the Property panel.
Here is the same pattern applied only to the content area.
Repeat
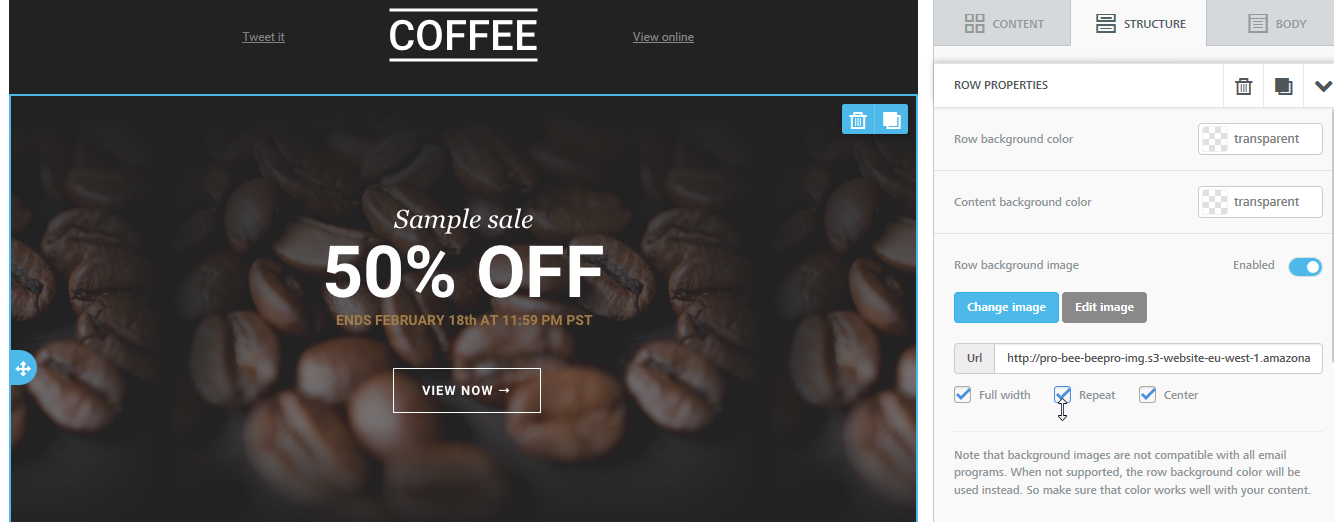
When selected, the image is repeated. This works well with symmetrical patterns. If you chose to repeat the coffee beans image, for instance, the message would now look like this:

Use "Full width" and "Repeat" together if you want to repeat a pattern across the width of the row. If the row is higher than the height of the image, the pattern will be repeated vertically too.
Center
When selected the image is centered. If "Repeat" is also active, the image is centered and then repeated to the left and to the right. If you "Repeat" without centering, the image is positioned in the top-left corner of the row, and then repeated to the right.
All three settings can be enabled and disabled independently of each other. Try uploading a small image and play around with them to understand how the positioning of the image is affected.
Email client compatibility
The BEE editor uses advanced email design techniques to ensure that background images are rendered on most email clients. According to our most recent tests, the only email clients for which background images were not shown, were:
- Outlook desktop on Windows.
Background images work on Outlook 2011 & Outlook 2016 on OS X, and on outlook.com - Lotus Notes 7
- free.fr email client
- T-Online.de email client
- Xfinity / Comcast email client
For those email clients - and for best results when images are blocked - make sure that you set a background color for the row that works well in the absence of the background image.
Changes to image resizing
In order to make the system more compatible with the row background image feature, a few other changes were introduced.
- The allowed max-width size limit for images was increased to allow for wide images
- To compensate the file size increase, all the images are automatically optimized without quality loss
- Only the biggest images are resized during the upload.
Availability
The ability to set a background image is available:
- For you to test on beefree.io
- For BEE Pro subscriptions
- For BEE Plugin subscriptions (paid plans only). The feature is disabled by default and it can be enabled in the application configuration settings.
Workshop
Take a couple of minutes to read this cool workshop on how to use background images in email on our email design blog. We'll show you step by step how to design a beautiful newsletter that takes advantage of this new feature in the BEE editor.
Try it out, share, and get featured!
Excited for the additional design flexibility that this feature provides? We are too! Try it out and then share your designs with us in the comments below: you might be featured on our Email Design blog!


